Bi-elliptic transfer orbit maneuver
ColinWright | 64 points | 6mon ago | www.johndcook.com
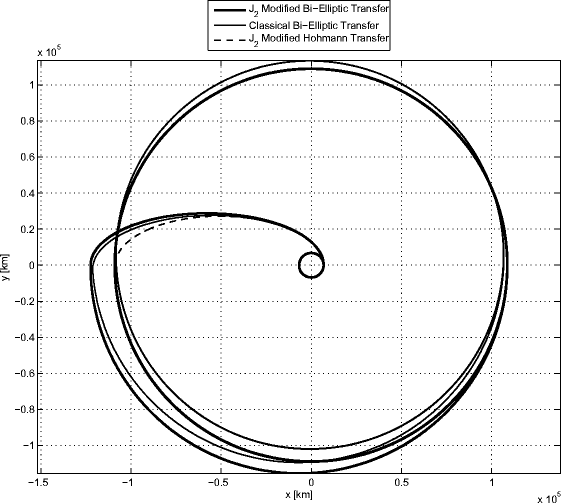
tofof|6mon ago
The direction change from first to second elipse does indeed produce the hook the author visualized. I'm not sure why he had trouble finding examples of this diagram already existing for suitably scaled orbits.
https://www.researchgate.net/profile/Sergey-Zaborsky/publica... https://media.springernature.com/lw685/springer-static/image...
From https://www.researchgate.net/figure/Scheme-of-bi-elliptic-tr... https://link.springer.com/article/10.1007/s40295-015-0043-3
andrewflnr|6mon ago
> The meaning of the dotted orange curve is different in this plot.
I really think it would have been better to have two different colors for the two transfer orbits. Changing the meaning of part of your notation like that is needlessly confusing, and misses the chance to show the full shape of both transfer orbits as well.